STEP 1 : RESEARCH PHASE OF THE COOLING SYSTEM
During this phase, you students will work in a study room where each of you has a personal computer/laptop and internet. The teacher will provide you with resources to complete this step, in the form of technical information to familiarize you with the basic principles of operation and common problems and failures of the tractor system you are investigating. For basic information, you will use links on the Internet, the material from which is mostly in English. This information will also help you to complete the next two steps of the assignment. The research phase is two class periods long.. The cooling system is designed to ensure optimum engine temperature during operation. A malfunction in the cooling system results in its malfunction and engine failure. A dirty radiator surface, for example, increases the coolant temperature and overheats the engine, and this can damage gaskets and seals and distort the cylinder head , as well as cause cracks to appear in the cylinder block cooling jacket.

Fig. 1.1 View of tractor cooling system

Fig. 1.2. Schematic of tractor cooling system

Fig.1.3. Schematic of cooling system
1.Possible cooling system malfunctions:
- Low coolant level or insufficient fluid in the system.
- Faulty temperature sensor.
- Faulty temperature gauge.
- Piping failures- leaky fixings, mechanical damage and contamination.
- Faulty
- Centrifugal or water pump failure due to wear, belt or gear looseness, leak.
- Damage to blower control and drive such as: belt looseness in mechanical gear, damaged thermo relay, damaged electric motor, low hydraulic pressure in hydraulic drive, etc.
- Damaged or dirty radiator: leaking radiator, dirty radiator core or dirty outer surface.
- Radiator cap valve leak.
- Worn cylinder block and cylinder head gaskets and seals.
- Cracks in cylinder block and cylinder head cooling jacket
- Causes of cooling system malfunctions
- Improper maintenance and operation of the tractor and the use of poor quality antifreeze, as well as its untimely replacement.
- Use of poor quality spare parts and consumables.
- Wear and tear of parts during operation.
- Poor system maintenance and repair.
- Significant contamination of cooling surfaces
Once you have familiar with the possible failures of the cooling system and their causes, you can proceed to the analysis phase.
STEP 2: ANALYSIS PHASE
Over the next two study hour, your group is in the classroom workshop as well as by the tractor to continue your research and analysis in a real-world setting by performing diagnostic tests on the engine’s COOLING SYSTEM, then analyzing the results and identifying the causes of the failure. Diagnostic tests: perform diagnostic tests following the instructions provided for the tractor engine cooling system. The teacher stands by your side, monitors your work and helps you with advice if needed. Initially, an external inspection of the machine for leaks and visible damage and inconsistencies to the engine and its components is started. The voltage across the engine coolant operating temperature sensors and the normal engine oil temperature should be measured with a Multimeter. The magnetic valve on the radiator cooling fin should also be measured. In this way, it is established whether the sensors are in working order. The temperature of the fluids is indicated by a sensor on the dashboard /measured with a heat temperature sensor/. In the course of the check, the degrees of coolant freezing are also checked with a Reflectometer. They are also monitored with the dashboard instruments located in the cabin. The appropriate working tools / wrenches, hex wrenches and other working tools / shall be used. Check the coolant level – look at the level in the expansion tank of the cooling system, there are two lines for the level- /Max. and Min./ The correct level of the fluid should be at a position between the two lines /Max and Min/. On some tractor models, the coolant level is checked by unscrewing the cap with the steam vent valve on the water radiator and looking at what the coolant level is inside the radiator. The level should be above the coil. Record results: Record all test results and compare them to normal readings and ranges.
Analysis of the causes: Based on the test results, you have made the following analysis of the possible causes of the failure. A large amount of plant debris was found accumulated in front of the cooling radiator. According to the students in this group – the strong wind has accumulated these residues in front of the radiator and they are one of the causes of the engine overheating. Other causes could be related to problems with the coolant, drive belt, thermostat, radiator, piping and radiator cap.
STEP 3: DECISION PHASE
In completing Step 3, you, the students are to propose decision to repair the damage based on your analysis, then prepare a list of tools and parts needed for the repair. The decision phase lasts for two study hour. In considering all the possible solutions to fix the fault, you, students have discussed and proposed the following::
- We found not good gear on the pump drive like play in the drive belt. It is not necessary to replace the belt, just to tighten it.
- Contaminated radiator outer surface – need to clean and purge with compressor.
- Radiator cap valve leak. In this case, the system pressure is low, and the fluid will boil even at idle. Fluid is discharged into the expansion tank when the engine is stopped. High antifreeze consumption is observed. To correct the problem the cap must be replaced.
LIST OF REQUIRED TOOLS AND PARTS Basic tools
- Wrench set – suitable sizes for the bolts and nuts connected to the cooling system and pump drive.
- Ratchet and bit set – for quick and easy removal and tightening of fasteners.
- Torque Wrench – for precise tightening of bolts, especially when a specific torque needs to be achieved.
- Pliers and screwdrivers – for working with clamps, hoses and other small fasteners of the cooling system.
- Belt tensioner (if available) – helps fine-tune belt tension.
- Caliper or ruler – to measure slack in the belt and set the correct tension.
- Manual purge pump – to remove air or impurities from the cooling system.
Specialized tools for belt work
- Torque Wrench – to accurately tighten tensioner bolts to prevent over- or under-tightening.
- Belt Gauge – measures the pressure or tension in the belt after tensioning to confirm that it is properly tensioned.
- Adjustable belt tension spring – to facilitate adjustment by maintaining constant tension during the adjustment process
Equipment and machinery
- Air compressor – to blow out the cooling system, to clean components and remove dust.
- Cooling system vacuum tester – can help detect leaks or air pockets in the system.
- Belt tension gauge – to accurately measure belt tension and adjust to the correct level.
- Cooling system pressure tester – to test system pressure and detect potential problems that could cause overheating.
- Capacity container for collecting the coolant – for safe draining and storage of antifreeze when working on the system
Additional supplies and safety equipment
- Spare belts – in case the belt is too worn and cannot simply be tightened.
- Hoses and clamps for the cooling system – spare parts in case of need for replacement.
- Protective gloves and goggles – for safety when working with coolant and when handling the belt.
- Detergents – to remove deposits and dirt from the radiator and other components of the cooling system.
- Absorbent wipes – to clean up spilled coolant and keep the workplace clean
RESOURCES- LINKS
- Tractor engine cooling system
https://www.kellradiatorservice.com/your-tractor-s-cooling-system-needs-attention-too/
https://www.youtube.com/watch?v=vRZu3-64yo0
https://www.youtube.com/watch?v=3XneH4sEmpE
https://www.platinumautoservice.com/coolant-system-flush
https://khetigaadi.com/blog/how-does-cooling-system-work-in-tractors/
- Common tractor cooling system failures
https://www.fridayparts.com/blog/top-7-causes-of-tractor-cooling-system-overheating-failure?v=b&srsltid=AfmBOoobm7IswXXnbSpPGGcV6Tr9-3Wx5rbEAODab_7KQkEOg1XRsOWL


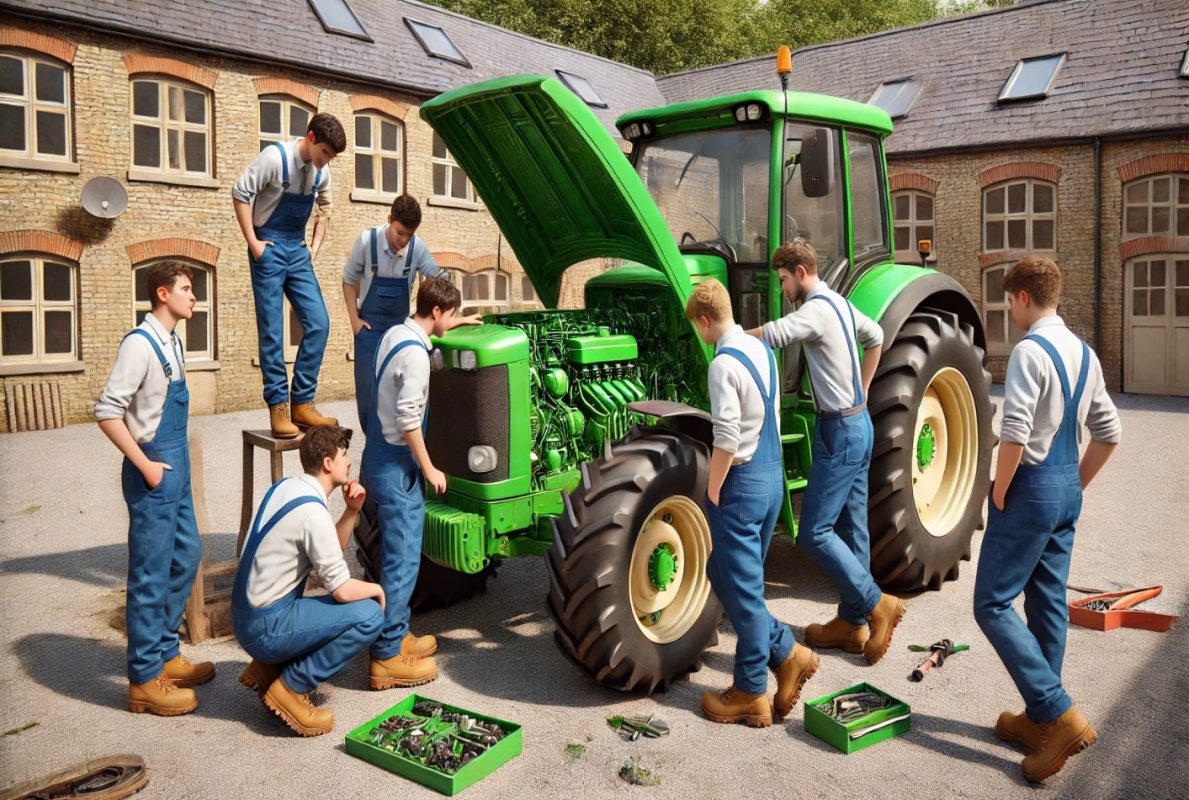
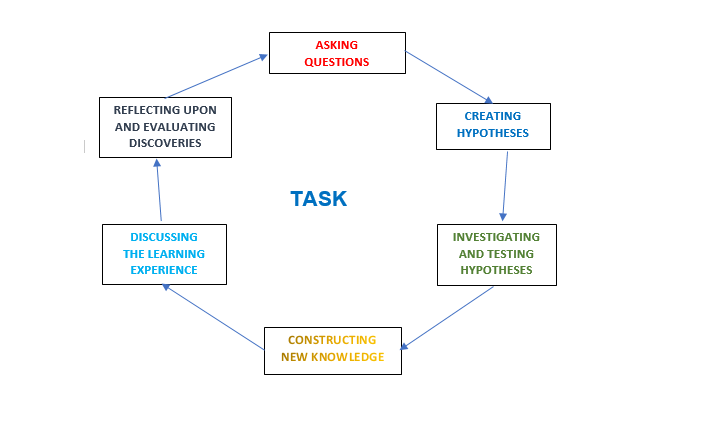

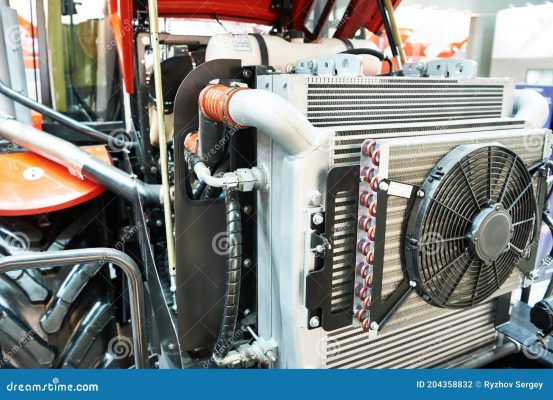
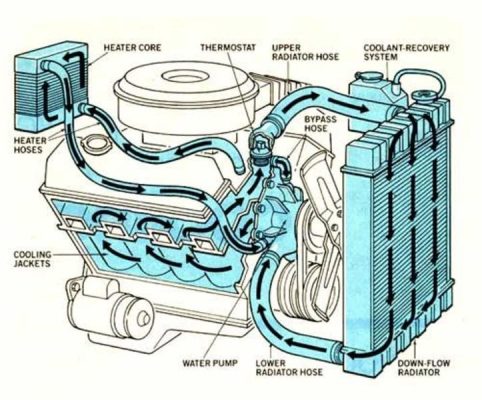


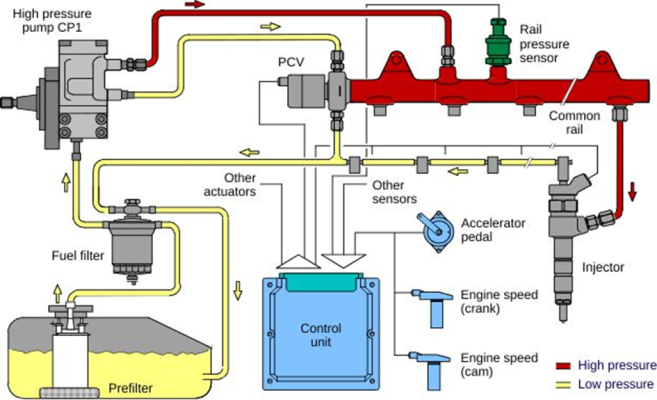 Fig. 3.1. Diesel fuel system diagram.

